Adventures in Avatars!
Right click and save as many different avatars of yourself from your different games or apps as you can. I just have animoji, bitmoji and memoji. You may have one from your Wii or animal Crossing or other games and apps. Use whatever app you like best to put them together in one image. I like picollage but google drawing or slides may be easier.
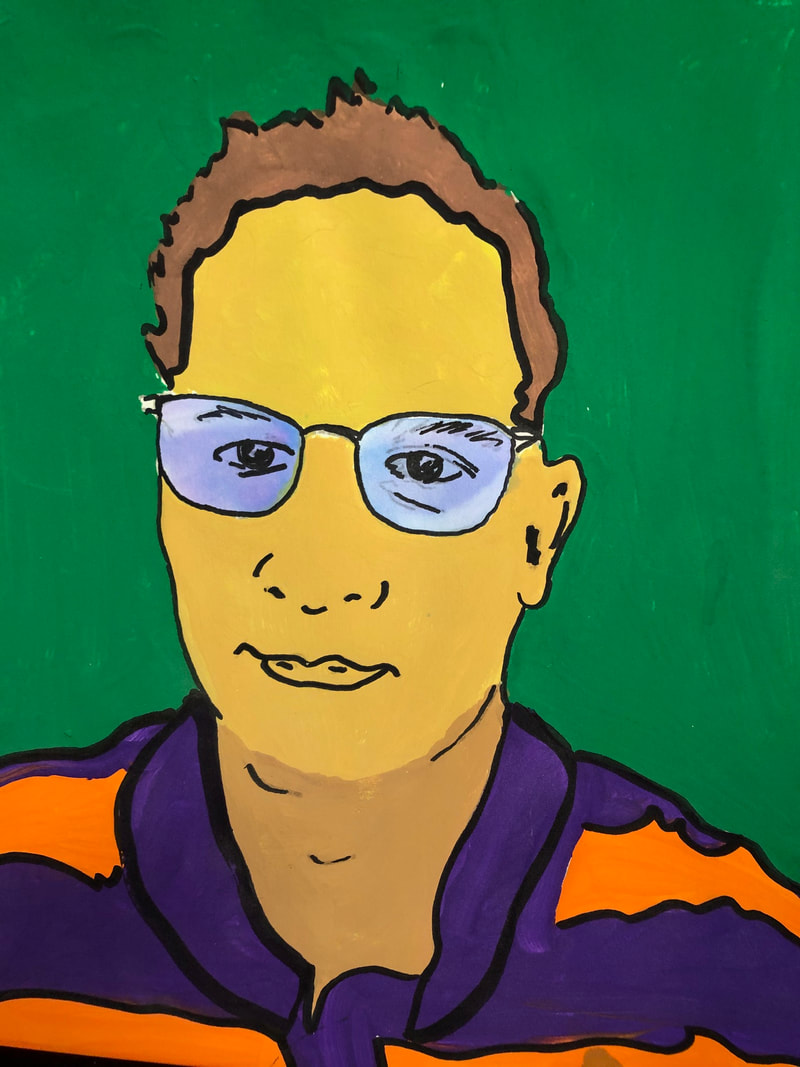
Next, Draw, color or paint yourself as a cartoon or avatar caricature.It doesn't have to be very realistic and you don't have to color it either. Pencil, marker, pen, digital; Whatever you want to use. Then take a picture of your drawing or a screen grab of your digital character and upload it to your school google drive account. You can then attach it to the form below and turn it in.
Next, Draw, color or paint yourself as a cartoon or avatar caricature.It doesn't have to be very realistic and you don't have to color it either. Pencil, marker, pen, digital; Whatever you want to use. Then take a picture of your drawing or a screen grab of your digital character and upload it to your school google drive account. You can then attach it to the form below and turn it in.
|
|
|
Week 1 Write about your experience with Stop Motion Animation
I would like you to write at least 7 sentences about your experience with Stop Motion Animation. Have you created a finished movie, or are you just getting started? What aspect of making Stop Motion Animation appeals to you. Do you see yourself as a director, camera operator, writer, set designer, animator, or is it another role that you are interested in?
To Do :
Click on + Create and select google docs to create a new document.
Open the google docs titled "Write about your experience with Stop Motion Animation" that appears right above the + create and Turn In icon and write at least 7 sentences about what parts of Stop Motion Animation appeals to you.
When you have finished writing, click on turn in at the top corner of the doc and on the coursework stream.
Week 2 Finding Resources
What are your go to resources when you have a question about animating? What are the skills that you think an animator needs to have? What skills do you want to improve? This week the activity is a form that asks you to share your resources for learning about animation. I will share the results with the class on the sheet below as they become available. Check back often to see if more resources are added. The resources sheet is view only. It will collect the responses from the forms as they are completed. Have a great week!
Week 3 Storyboard
The storyboard is the map that provides instructions to the actors, camera person, editor, and support team. The usual storyboard resembles a set of comic book drawings. Like comic books, storyboards communicate as much information as possible with a combination of artwork and text.
Most movies are still created this way so story boarding is a great skill to have.
This week you will develop a storyboard from original ideas for a Pixelation that you can film.
Pre-visualization is not only a great skill to have as a movie maker, it is a great skill
as a leader. Storyboards, shot lists, and screenplays are three parts of the planning
process that help communicate to the production and post-production team the goals
for the project. Although they are not always essential for every project, aspects of the
three always appear in a well-developed movie project.
To Do:
Come up with a great idea for a Pixelation video
Think about how to incorporate different shots to emphasize key details
Storyboard your PIxelation idea
Upload an image of your storyboard to your school google drive then attach the image to the activity to turn it in.
|
|
|
Week 4 Script and Shot List
Develop a script for your Pixelation animation idea from last week. Include notes in your script of the action your actors will perform. The script does not have to be very long. Just make sure the message you want to convey comes through. You can write your script using google docs.
Next, Create a Shot List with drawings and notes to accompany your script. The shot list will have some notes about the action and the script. For example if the actors are entering from the right, include notes or arrows that convey that action. If the actors are speaking in a scene, include notes from the script in the shot list. Include camera angles and equipment that is necessary to perform the shots. You can organize your shot list using google sheets or you can draw and write notes for your shot list by hand.
Next, Create a Shot List with drawings and notes to accompany your script. The shot list will have some notes about the action and the script. For example if the actors are entering from the right, include notes or arrows that convey that action. If the actors are speaking in a scene, include notes from the script in the shot list. Include camera angles and equipment that is necessary to perform the shots. You can organize your shot list using google sheets or you can draw and write notes for your shot list by hand.
Week 5 Tips for better Stop Motion Animations
Whether you have created a number of stop motion clips or you are just getting started, it always helps to see how other people use tricks when they are filming. Watch the three links below. The first two are posted separately because I trimmed some content out of the middle of the clip. The last one shows some steps that you would need an adult to help with. Don't use a sharp knife to cut anything. And don't take the stuffing out of pillows to do these tricks. Ask for help with the materials if you decide to use any of the tips.
To Do:
Watch the videos below. Then write about three of the tips you would like to try. Using google docs write a few sentences about why these tips you selected will help you in your Stop Motion Animation projects.
To Do:
Watch the videos below. Then write about three of the tips you would like to try. Using google docs write a few sentences about why these tips you selected will help you in your Stop Motion Animation projects.
|
|
|
Week 6 Making Animations using Google Slides
Google slides can be used with images you upload as well as with images you gather from the internet. Watch the video and create your own google slides video using the steps shown in the Get Animating!! FUN With Google Slides video below. Your animation should be at least 30 slides. Submit your link using google docs. When you turn in your link, also tell me what animation software if any you have to use at home. If you don't have any, now you know that you can still create animations with google slides!
Week 7 Action!
Over the past few weeks we have been developing ideas for stories and characters. We have also learned about some special effects and tips for improving our animations. This week I would like you to make a first version of your character. It doesn't have to be completely finished perfectly. We will be posing the figure before it is finished so that we know it can be posed the way we need it to be before we add the finished details to the surface. If you plan to use modeling clay, there is a short video of a student creating a simple clay figure over a wire armature. The finish that is in the video is perfect for the step that we are on this week. You will have more time to finish off the details in the future. So notice that the figure in the example video is just blocked in. It really isn't symmetrical or very finished looking. We can work on that later. This is the week we start to figure out what materials are going to work and which ones to avoid. You get to choose the materials that will best bring out your vision. You can use clay, found materials, legos, toys etc. Just make sure you have permission to use the materials because you will be working with these materials for more than one assignment. Once you create your character, practice posing the character and photograph the poses. I would like you to submit 5 images of your character each in a different pose. Choose the poses based on the story you are telling. For example, if your character doesn't fly, don't spend a lot of time setting up a pose with your character flying. Instead, look back at your story board and script and think of how your character will act out the scenes. Use poses that will help you tell the story you wrote.
To Do:
Create a first draft of your character
Pose and photograph your character in 5 different poses
Upload the images to your school account google drive.
Import the images into google slides and attach the slide show to this assignment
Click Turn In
Optional: attach each image separately to this assignment.
Week 8 Paper Cut Outs 1
This week we are going to create the paper cut outs for the script you wrote in the previous activity. Draw and cut out all of the characters and objects for your animation. Snap an image of your work and upload it to your school account google drive. Then attach the image to this activity to torn it in. Have a great week creating.
Week 9 Paper Cut Outs 2
This week we are going to create the paper cut outs for the script you wrote in the previous activity. Draw and cut out all of the characters and objects for your animation. Snap an image of your work and upload it to your school account google drive. Then attach the image to this activity to torn it in. Have a great week creating.
Week 10 3D Animation Software
Making 3D characters and animation can be rewarding and challenging. There is so much to learn when it comes to 3D software. The good news is that very often once you learn how to use one 3D modeling program, the skills are easily transferred to other 3D modeling software. One of the most versatile software programs for creating 3D models can also be used to create video. Blender combines character creation, set, rigging and lighting, special effects timing, key framing and audio. Blender is a very comprehensive software suite.And, it is open source free software. This assignment does not require or ask you to download Blender or any other software.
To Do:
Watch the videos below. In the first video, we are just watching to get an idea of how 3D modeling works. The second video is a 7 minute animation created using Blender.
Open a new google docs in your school drive account and write 3 facts from the tutorial video and write about two things that surprised you from the Spring video. When you viewed the Spring video what were two things that you just couldn't believe were not real?
Attach your docs to this assignment and turn it in.
Week 11 Experimental Materials
Have you ever had an idea for a stop motion video but you didn't want to use clay? Well, for this activity I would like you to think of some other materials that could be used to create an animation. I have posted some of my favorites examples below. Open a google docs and list three different materials that you would like to work with to create an animation. Then, paste a link to one stop motion project that uses experimental materials. Your link can be for a video or for a web page. It appears that I went a week without posting an activity last week. We have two more weeks of school and three activities and a post test left. This one should be quick and easy.
|
|
|
Week 12 Character Animation 1
This week we are picking up where we left off in Action . We have developed a character and shot list, we practiced posing our character and now it is time to create some animation. This week we will be focusing on creating smooth animations so we are going to have to shoot a lot of frames and make only minor changes to the character between frames. This activity is going to require 24 frames to produce one second of animation.
Set up your character using what we have learned about in Tips for better stop motion animations in February. Some of the tips include controlling the light, supporting the character with wire, foil or other support where needed and wear dark clothing to reduce reflection into the animation shots. Review the videos in Tips for better stop motion animations if you need more reminders.
Shoot 24 good frames to create a single motion. A single motion could be one step, picking something up or turning around. We are looking for consistent light, minimal camera movement and smooth animation. Upload your images to your school google drive account. Use google slides to arrange your shots. At the bottom of this activity, click the + symbol and select slides. . Then Click slide 1 on the left, then click insert image and select drive. A selection window will appear on the right and you can select your image. Hold the control key and click M to add a slide or Click insert and then select new slide. Click slide 2 on the left and repeat the process. When you have all 24 slides completed close the slides presentation and click turn in on the assignment.
Week 13 Character Animation 2
This week we are picking up where we left off in last week . The directions are just like last week, but here they are again. This week we will again be focusing on creating smooth animations so we are going to have to shoot a lot of frames and make only minor changes to the character between frames. This activity is going to require 24 frames to produce one second of animation.
Set up your character using what we have learned about in Tips for better stop motion animations in February. Some of the tips include controlling the light, supporting the character with wire, foil or other support where needed and wear dark clothing to reduce reflection into the animation shots. Review the videos in Tips for better stop motion animations if you need more reminders.
Shoot 24 good frames to create a different single motion than you submitted last week. A single motion could be one step, picking something up or turning around. Just choose a different action than you already shot from your shot list. We are looking for consistent light, minimal camera movement and smooth animation. Upload your images to your school google drive account. Use google slides to arrange your shots. At the bottom of this activity, click the + symbol and select slides. . Then Click slide 1 on the left, then click insert image and select drive. A selection window will appear on the right and you can select your image. Hold the control key and click M to add a slide or Click insert and then select new slide. Click slide 2 on the left and repeat the process. When you have all 24 slides completed close the slides presentation and click turn in on the assignment.
This isn't officially due until May 7th, but if you want to get a head start or shoot all of your images for both weeks all at one time you have that option.
Don't attach 24 separate images for this activity. Do use google slides as the directions indicate. Have a great week!
Week 14 Morphing
|
This week we are going to look at the process or technique of Morphing. Morphing is essentially changing from one shape or thing into another shape or thing. Animators can morph a 3D or flat object or shape using real objects or by creating a likeness out other materials like clay. Animators can create the illusion of morphing by starting filming at the end of a scene and slowly morphing the sculpted or real object into another simpler object.
To do: View the videos linked below. Both of the videos show how objects are morphed in stop motion animation. Research morph animations either in how to tutorials, short clips or in bigger budget film and copy and paste a link your findings in a google docs. For this week, only use references that you can get a link for. You only need to post one link. Next, analyze the morph and describe how you think the morph animation was accomplished. Write your analysis on the same google docs below the link that you are referencing. Was this morph created using real objects, clay, other media or a combination? Do you think this morph was shot from beginning to end or from end to beginning and why? Because there may be more than one morph in the video that you link, make sure you note the time on the progress bar that the action you are discussing takes place. This way we can see the particular morph you are referring to. |
|
